I have suddenly become addicted to something not-so-healthy. Well, when is an addiction ever healthy? At least my addiction has fruit in it.
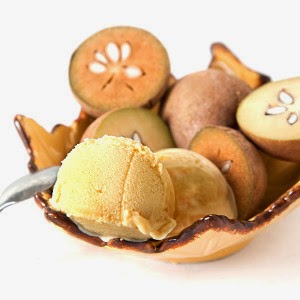
May I present my new-found friend, albeit bad influence on my calorie intake; Sapodilla Ice Cream.
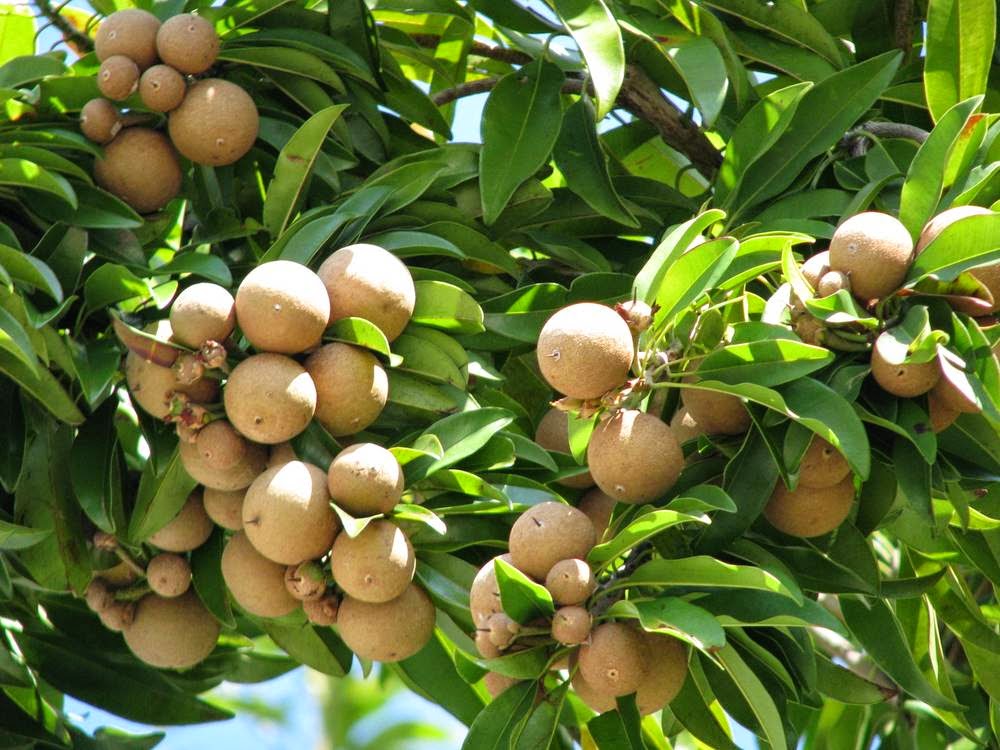
Sapodilla is a fruit-bearing evergreen tree that’s native to Mexico, Central America and the Caribbean. I had never tasted, or even heard of it until I moved to the Bahamas. We actually have a 40 ft sapodilla tree in our yard in Nassau, but I’ve always been a little intimidated to attempt any glamorous recipes with the fruit. Until now…

 |
But first, let me give you a little background on this strange foreign fruit. The sapodilla has a rough brown outer skin like a kiwi and when it’s ripe, it has a firm, smooth texture that is similar to papaya. It’s relatively sweet and many people eat it with a squeeze of lime to balance out the sweetness. If it’s not quite ripe, it will have an offensive white sap that is almost impossible to clean off knives, fingers, etc. I’ve found that if I pick the fruit and let them sit on the counter for several days, they ripen nicely and the sap disappears.
In the Bahamas, it’s actually pronounced “sap-a-dilly” or “dilly” for short. I’m not quite sure how they came up with that pronunciation, but I suppose it’s along the lines of Australians adding an “r” to words that end in an “a,” such as Austral-yer.

Caribbean D’Lights hand-makes sapodilla ice cream and ships anywhere in the US. I’ve never tried it (because I can make my own (muah haha) but you can order it on their website.
A friend gave me a bag of ripe sapodilla from his tree in Eleuthera and I was racking my brain trying to figure out what to do with all of it. I have been dabbling with my ice cream maker recently, but mostly sticking to the safe & easy recipes. I love any kind of ice cream with fruit in it so at some point, I had one of those light bulbs appear over my head. Ding! Sapodilla ice cream!
It’s pretty amazing these days that I’m able to do a quick Google search to find obscure recipes. Back in the old days you’d have to either scour all of the cookbooks in your pantry to find something relevant to what you might want to cook, or experiment until you figured it out. With a few clicks of the keyboard, I was easily able to find guidelines to making sapodilla ice cream, which I adapted to my liking.
It turned out super delicious and yes, I am addicted. I’m not sure they have any sort of support groups in the islands for those types of things, so I may be flying solo through all of this. But I’m tellin’ ya, this ice cream will rock your world. It’s custardy and fruity and the hint of vanilla is a perfect compliment. It tastes like some sort of alien comfort food that I never knew existed.
 |
So here’s my version of sapodilla ice cream. You can add more sugar if you’d like (up to 10 oz). I don’t prefer my ice cream overly sweet and you’ll find that the sapodilla has a lovely sweetness that doesn’t require too much added sugar.
Sapodilla Ice Cream
4 cups half and half
1 cup sapodilla
8 egg yolks
5 oz sugar
1 tbsp vanilla extract
Put the half and half in a large sauce pan and bring to a boil over medium heat, stirring occasionally to prevent burning. Once it has reached boiling, remove from heat.
While the half and half is heating, cut sapodilla in half, remove the seeds and scoop out the flesh, discarding the outer skin. Place the sapodilla in a glass bowl and mash it with a fork, breaking up any large pieces. If you prefer less chunky ice cream, put the sapodilla in a food processor and puree it.
Separate egg yolks in a bowl and whisk until the yolks become pale yellow in color. Add the sugar and whisk until dissolved.
Temper the egg mixture with 1/2 cup of the warm half and half and then pour the egg mixture into the sauce pan and add the sapodilla and vanilla. Return the pan to medium low heat, stirring occasionally until the mixture coats the back of a wooden spoon.
Put the mixture in a plastic container and allow to cool on the counter for 30 minutes or until no steam is rising from the mixture (to prevent condensation in the fridge). Place in refrigerator with a lid and cool for 4-8 hours.
Place mixture in an ice cream maker and process according to the manufacturer’s directions.


0 Comments